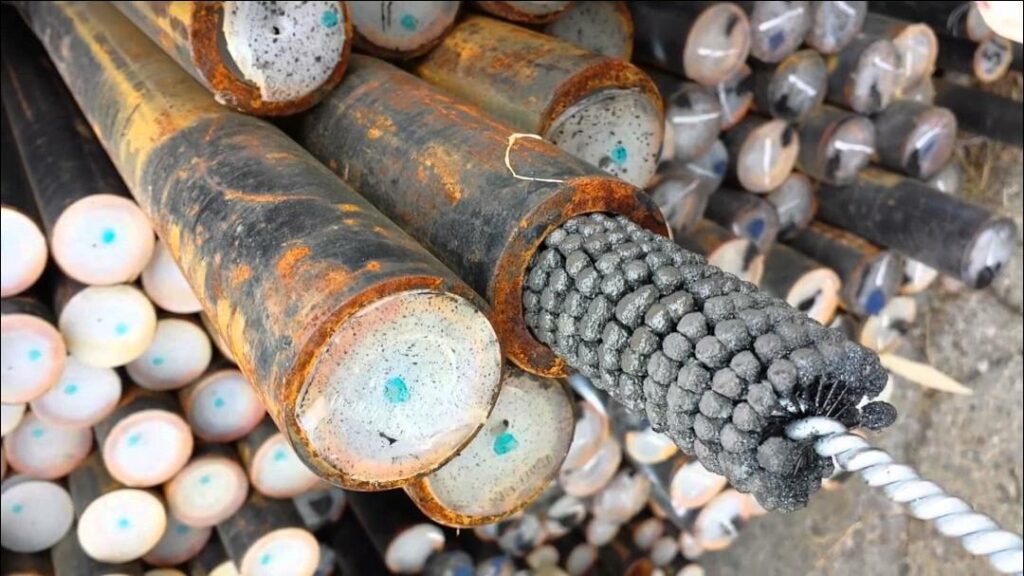
Throughout the oil and gas industry, ongoing maintenance is often required to remove rust, corrosion and other accumulated material from the inside diameter (ID) of valves, pumps, piping, diesel engines, motors, natural gas compressors and other large bore equipment. Failing to do so can have severe consequences including reducing equipment service life, causing unplanned shutdowns and degrading performance.
For much of this equipment, critical ID tolerances of cylinders and bores must be maintained to ensure proper performance of everything from hydraulic cylinders used in pumps to big bore engines.
Nowhere is this illustrated more clearly than for two relatively ubiquitous pieces of equipment in the oil and gas industry: reciprocating natural gas compressors and sophisticated pipeline flow meters. Reciprocating compressors require a tight seal between piston rings and cylinder bores to maximise compression while pipeline flow meters require a fine microfinish on the ID of piping to ensure accurate readings.
Gas and air compressors
Petroleum refineries, as well as natural gas processing plants, petrochemical and chemical plants utilise natural gas compressors to pump intermediate and end-product gases in pipeline service or within the refinery.
Although there are varying types of compressors, common reciprocating compressors utilise an electric motor to turn a crankshaft that causes a piston to rise and fall within the cylinder to compress the air or gas. To create a proper seal, piston rings are required. Depending on the type of gas, these rings are made of Teflon, high carbon, low carbon, or non-metallic ringed.
As in any motor or engine application, it is particularly important that the piston rings maintain 100% contact with the walls of the cylinder bores. Otherwise, performance problems such as compression blow-by and oil leakage can occur, reducing efficiency.
Providing the needed consistent contact between piston rings and cylinder almost always requires honing, either because the bores are not perfectly round, have been damaged by previous ring or piston failure, or due to other wear factors. When there is a bad seal or the cylinder is out-of-round and you install a set of piston rings they will run unevenly and you can lose compression and reduce the overall efficiency of the compressor.
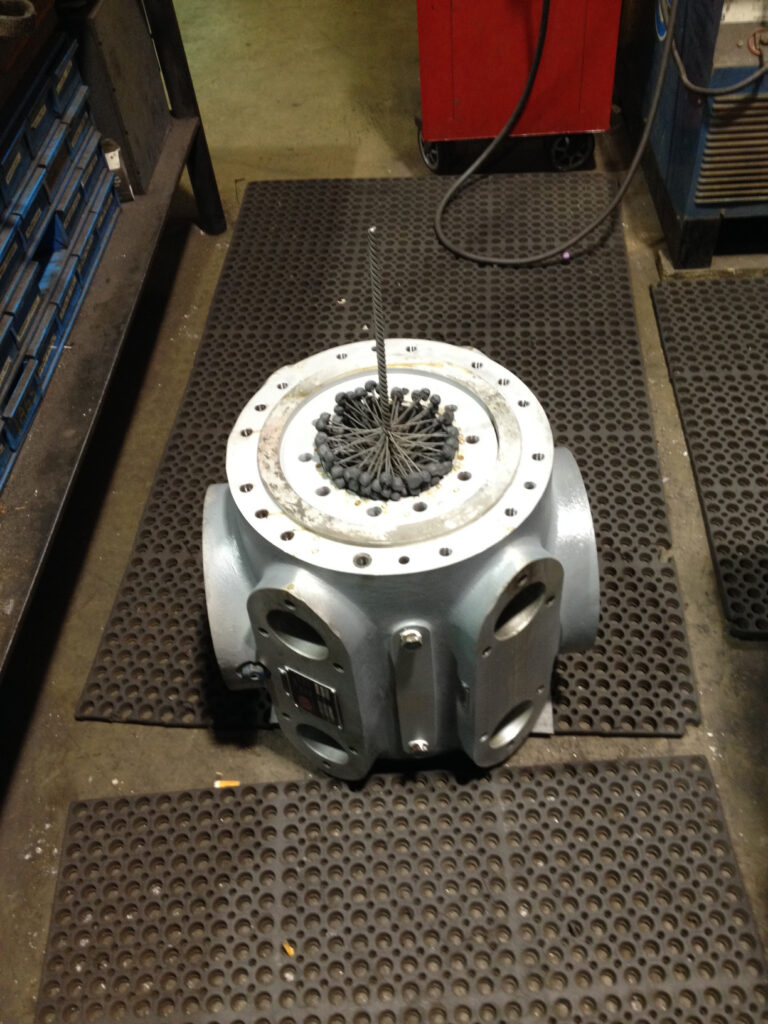
In a repair situation, this typically means boring out the cylinder to a larger size and installing a cast iron liner. To complete this work, the repair shop utilises an industrial hone to get to size and then completes the finishing work with the Flex-Hone.
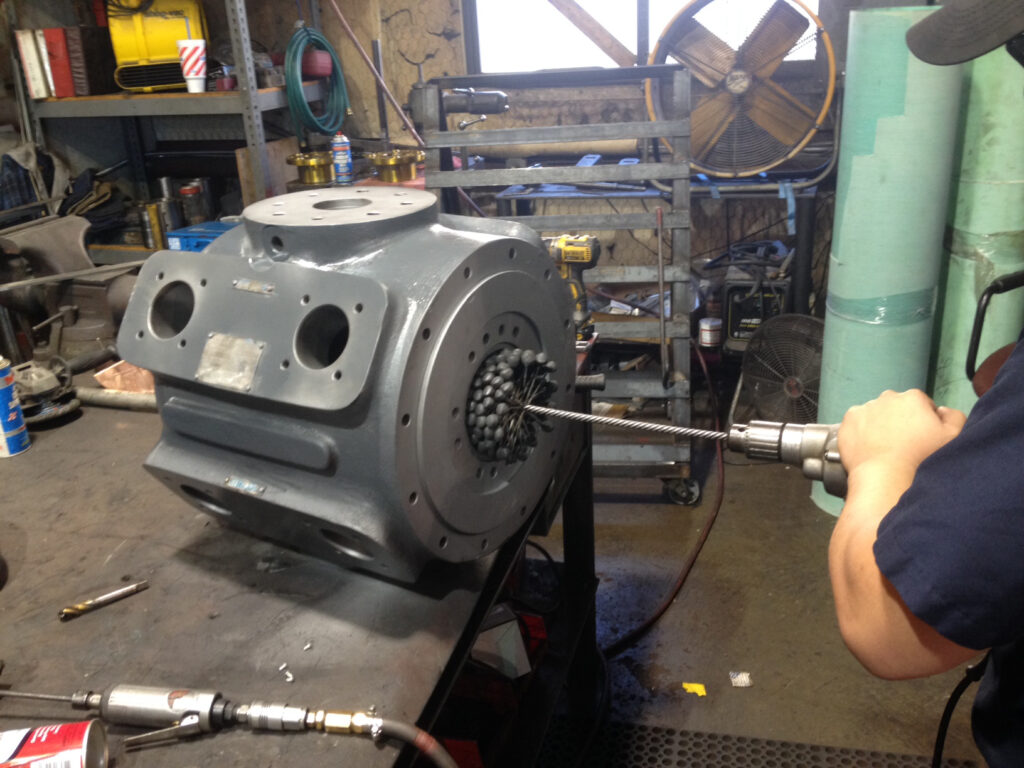
Characterised by the small, abrasive globules that are permanently mounted to flexible filaments, the Flex-Hone is a highly specialised abrasive tool available in many sizes as well as abrasive types and grits.
Whether for smoothing out rough areas and high points, deburring, edge blending, cross-hatching or removing cut, torn or folded metal, a flexible cylinder hone can be an indispensable tool.
Furthermore, the tool is ideal for field applications because it can be operated using a standard drill and is self-aligning and self-compensating for wear, which facilitates close-tolerance finishing work.
uses Flex-Hones in various sizes to accommodate the range of cylinder diameters and achieve the required RMS finish. In addition, the tool produces a cross-hatched surface, which is integral to ensuring that proper oil retention will be maintained in the cylinder bore walls at all times.
To achieve the proper surface finish, ensuring the cylinder is true, and that the piston rings are seated properly can keep a compressor in service for a very long time. Customers expect these compressors to remain in production for a long time after the repair and they don’t want to be putting in new piston rings every few months.
Ensuring accurate flow measurements
Flexible hones also play a critical role in ensuring that flow metering equipment produces consistent, accurate gas flow rates and volumes for custody transfer. For many flow meters, even small flow disturbances inside the diameter of the fitting bore or the straight run piping can cause a measurement error. This includes the viscous drag along the pipe wall due to ‘roughness’ of the ID of the piping. Since even small variances in measurement accuracy can have a major impact on profitability, metering system manufacturers and integrators use flexible hones to achieve the AGA-recommend microfinish, prior to delivery to the customer.
According to meter technician Frank Curry, the piping used typically arrives with a microfinish rated at 80-90 μ in so it requires honing to meet the maximum recommended surface roughness specifications. This can range from 100-250 μ in, depending on the size of the pipe.
“We hone it using a cylinder hone to make sure there are no imperfections before it is inspected by the customer,” says Curry. “The pipe has to be nice and smooth because if it has any obstructions or corrosion, it won’t produce the most accurate measurements.” To achieve the required finish, Curry conducts a two-step process beginning with a coarse grit Flex-Hone, then a finer grit tool.
The Flex-Hone tool is also used when maintenance is required in the field. If a metering device is not producing accurate measurements, the technician will re-check the surface finish in the field and, if needed, use the hones to recondition the pipe or remove any corrosion.
For metering technicians, the ease-of-use of the tool is another benefit, given that to conduct field repairs the pipeline system must be shutdown completely until the work is completed. “Usually we have a window of so many hours to get the work done and they want us out of there as soon as possible so they can test the system and bring it back on line,” explains Curry.
Please contact us for more product details and application solutions.
